The WegoWise Development Blog

The New Face of WegoWise

| Comments

We recently redesigned the WegoWise website and whilst doing so I approached some common problems a bit differently than I have in the past. This article is about how I tried out some new tools and techniques to create mockups, organise my code and write breakpoints (for responsive web design).

I ditched Photoshop in favour of Sketch

There are so many reasons why this made sense but here are a few of the key ones (Disclaimer: Sketch is a Mac-only application):

Price!

Sketch costs $79 to download, Photoshop costs $239.88 for a year (based on the price at the time of writing for one years subscription to the Creative Cloud for one full application).

Export to SVG option

It’s a format that I think there’s no avoiding in modern web design and for good reason.

Small file sizes that can handle a lot of layers before slowing down

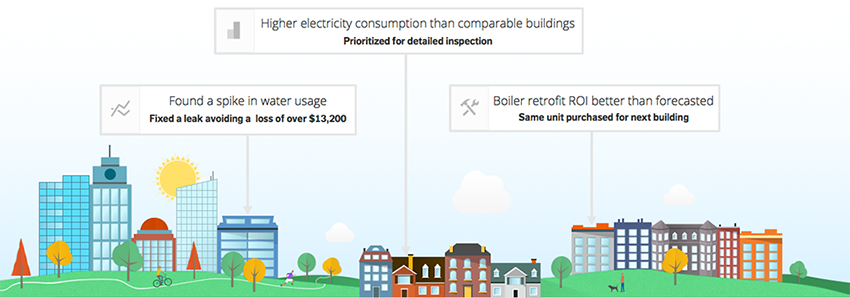
I always found that large Photoshop files would get very unwieldy, slow to open, slow to save, slow to move groups of layers around...just about slow everything. That doesn’t seem to happen with Sketch: the mockup of the homepage with the illustrations of all the buildings is only 5MB and dragging or resizing groups of layers around is never a problem.

Linked layer styles

Sure in Photoshop you can lock files together and then “Select locked layers” and paste your layer styles, but it’s fiddly. Sketch handles this in a very elegant way and layer styles on linked layers are always kept in synch.

Everything is a vector

It makes sense that everything except a bitmap image should be a vector when you’re designing mockups. It means you can easily export a larger version of your artwork for retina screens, zooming in always looks great and if you decide to change the size of your design later it’s not an issue.

I could keep going. There are so many features that make me prefer it over Photoshop for UI work, like the way it handles exporting assets, the built in grid tool, artboards, its superior text rendering and the infinite canvas to name a few. It is worth mentioning that Sketch is not a bitmap editor and doesn’t try to be, for that you will probably still need to rely on Photoshop or some equivalent.

We built our own Compass framework

I’ve used Compass for a while now but this was my first experience building and using a proprietary Compass framework and so far it seems an ideal way to share styles among our different websites. You have to think a bit harder about how to break up your styles and make sure that all your common styles end up in the gem and not mixed in with the site specific styles. This lead me to create a guideline on how our stylesheets should be organised across all our sites and the framework. Check it out and maybe you’ll find it useful for your own projects:

scss/
|
|-- utility/
| |-- mixins.scss
| |-- placeholders.scss
| |-- variables.scss
| |-- ...
|
|-- base/ # Generic styles not attached to specific pages or components
| |-- fonts.scss
| |-- icons.scss
| |-- reset.scss
| |-- type.scss
| |-- ...
|
|-- layout/ # Generic styles that give structure to a page
| |-- grid.scss
| |-- footer.scss
| |-- header.scss
| |-- ...
|
|-- components/
| |-- buttons.scss
| |-- forms/ # Complex components could be split up into multiple files
| | |--base.scss
| | |--inline.scss
| | |--search.scss
| |-- subheader-nav.scss
| |-- tables.scss
| |-- ...
|
|-- views/ # Page level css
| |-- home.scss
| |-- tour.scss
| |-- _about.scss
| |-- …

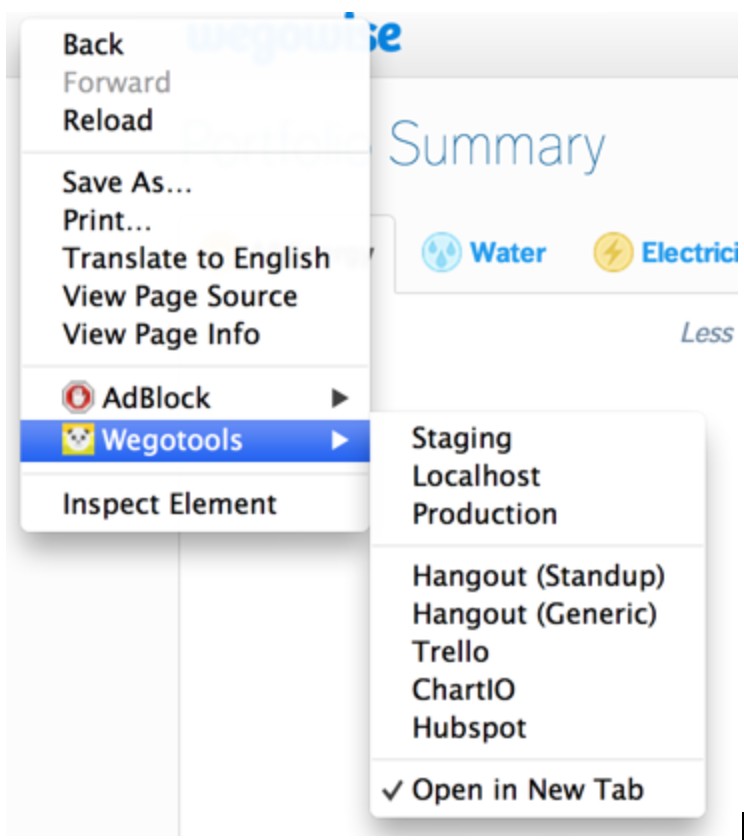
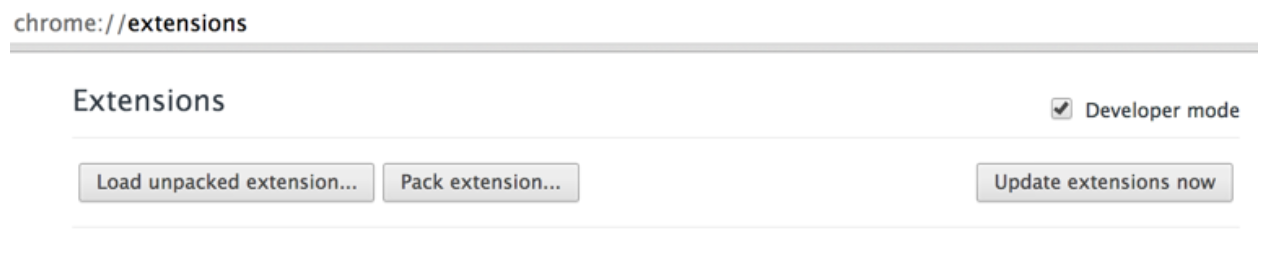
We turned our Compass framework into a Ruby gem and keep it under version control at GitHub but if you want to create your own framework for personal projects and you don’t need to distribute it among a team it’s a very simple thing to set up that could save you a huge amount of time in the long run. Here’s a good intro video from Chris Epstein (creator of Compass) to get you started and if you decide to go down the route of turning it into a distributed gem then be sure to take a look at the guidelines for Compass extensions.

I started using meaningful breakpoint names

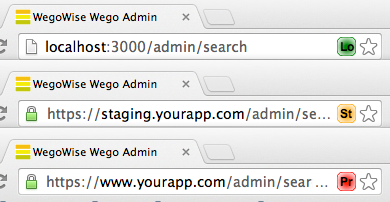
The site redesign involved quite a few breakpoints: horizontal breakpoints, vertical breakpoints and pairs of breakpoints. Keeping track of them all and what they meant was getting pretty tricky so I tried out the breakpoint gem from Team SASS and it helped keep things sane. Some of the breakpoints are still very general eg.

<a href='https://github.com/include' class='user-mention'>@include</a> respond-to(‘between narrow and widest’) { ... }

Which you could also write like:

<a href='https://github.com/include' class='user-mention'>@include</a> respond-to(‘portrait tablet’) { … }

Other breakpoints were very specific and I could tell at a glance what they were for, this is where the breakpoint gem really comes into its own, eg.

<a href='https://github.com/include' class='user-mention'>@include</a> respond-to(‘compact pricing table’) { … }

This was a tremendously enjoyable project for me to work on mainly because it involved such a wide range of skill-sets. My time was spent between creating illustrations in Sketch, preparing mockups of the main pages, sitting in on brainstorming sessions for the written copy, organising styles into a reusable framework, writing the front-end code and learning how to integrate it with Ruby on Rails...all the while fighting with Git and the command line as only a designer knows how.

Customizing Google Chrome - Part 2 of 3

| Comments

This is part 2 of a series on creating a Chrome extension for use by members of a development team. We use a version of this tool here at WegoWise.

Have you ever been investigating an issue, flipping back and forth between production, staging, and your local machine, when it hits you: Did I just make a change on production!?

The goal of this extension is to read the url of the tab and display an icon if it's one of the domains we're concerned with. The icon's color and text will be set according to the domain, and we will change that color and text by creating a canvas object and rendering it.

'Page Action'

Ideally we would have liked to do something really flashy like change the background color of the page or perhaps change the look and feel of the browser itself. Chrome has a theming mechanism that can change how the browser looks, however at this time you cannot change the theme from an extension. You can modify the HTML of any page from an extension, but that creates potential problems because you could inadvertently change the behavior of the page. A third option is to add an icon to the location bar which is what I decided to do.

Manifest

The first thing we need to do is make a small change to the manifest.json. Since we need a canvas element to create our button we change background to reference an HTML file. The HTML file takes care of loading our script from the first part of the series.

"background": {
"page": "wego_menus.html"
},
"page_action" :
{
"default_title" : "Wegotools"
}

The second change is to tell Chrome that we will be creating a page action. The only parameter required is the title of our extension. Now we have a page action which we can reference in our code.

HTML

For this project we're only going to use the HTML file in order to load our javascript and provide a canvas element. Chrome allows you to do a lot more with this file for example it can be rendered as a popup with html, buttons, form elements, etc. You're only limited by your imagination and the restrictions of the Chrome sandbox.

<html>
<body>
<canvas id='canvas' width='19' height='19' style='display: none'></canvas>
<script src='wego_menus.js'></script>
</body>
</html>

Javascript

For configuration information I've modified the menu object from the previous installment:

var menus = { 'staging': { 'url': 'https://staging.example.com',
'color': 'orange',
'title': 'Staging' },
'localhost': { 'url': 'http://localhost:3000',
'color': 'green',
'title': 'Localhost' },
'production': { 'url': 'https://www.example.com',
'color': 'red',
'title': 'Production' } }

We need to configure Chrome to execute a function for two events, when the location bar is changed:

chrome.tabs.onUpdated.addListener(onTabUpdated);
function onTabUpdated(tabId, changeInfo, tab) {
checkForValidUrl(tab);
}

and when a different tab is selected:

chrome.tabs.onActivated.addListener(onTabActivated);
function onTabActivated(activeInfo) {
chrome.tabs.get(activeInfo.tabId, function(tab) {
if (tab && tab.url) {
checkForValidUrl(tab);
}
});
}

Due to the way that Chrome events fire, tab activation does not provide the currently selected tab. Instead it needs to be retrieved separately. Either way, once we've got a handle to the tab, we need to check to see if the domain for the tab url is handled by our menus:

function checkForValidUrl(tab) {
var wegoMenu = getWegoMenu(tab.url);
if (wegoMenu) {
showIcon(menu.title, menu.color, tab.id);
} else {
chrome.pageAction.hide(tab.id);
}
};
function getWegoMenu(url) {
if (url) {
for (var i in menus) {
menu = menus[i];
if (menu && url.indexOf(menu.url) == 0) {
return menu;
}
}
}
return null;
}

If we don't have one of our specified urls then we will hide the page action for this tab. Assuming that the url is for one of our domains the next step is to show the icon:

function showIcon(text, color, tabId) {
chrome.pageAction.setIcon({ imageData: draw(text, color), tabId: tabId });
chrome.pageAction.setTitle({ tabId: tabId, title: text });
chrome.pageAction.show(tabId);
}

You will notice that we call the draw function to provide image data to the the page action. The example including the draw function can be found in this repository, which you're welcome to fork and modify as you like. You can create any type of image that you can make on a normal canvas including animations. Just remember the final image can only be 19x19 and animations are annoying. Alternatively you could just provide an appropriately size image and pass that along to the setIcon function.

Next Steps

The example project can be found in the Chrome Extension Blog repository.

The last part of this series will cover different deployment methods including packaging, signing, and distributing your extension. Depending on community interest I may also do a supplement on using an Arduino to control an RGB LED strip as part of the page action outlined in this article.

Customizing Google Chrome - Part 1 of 3

| Comments

This is part 1 of a series on creating a Chrome extension for use by members of a development team. We use a version of this tool here at WegoWise.

As a developer I often need to switch between multiple environments with the same url. This usually involves cutting and pasting a url into a new tab then changing the domain. Knowing that Google Chrome allows you to easily write extensions that can interact with web pages I decided to see if I could make my workflow a little bit easier. The goal of this minor project was to be able to change just the domain part of a url from a right click in a Chrome browser.

A custom menu in chrome

The first step is to turn on developer mode on the chrome://extensions page in the upper right hand corner.

Chrome extensions url

An extension is defined by a file called manifest.json which should be created in the root directory of your chrome extension project. The manifest defines the properties and permissions of your chrome extension.

{
"name": "Wegotools",
"description": "Loads different servers",
"version": "0.6",
"permissions": ["contextMenus", "tabs"],
"icons": {
"16": "panda-with-glasses-small.png",
"128": "panda-with-glasses.png"
},
"background": {
"scripts": ["wego_menus.js"]
},
"manifest_version": 2
}

Most of the parameters are self explanatory, however there are a few items that are of particular interest.

Permissions

In our case we’re going to be adding right-click menus (i.e. contextMenus) and we are going to be manipulating tabs. Chrome extensions can have very intimate knowledge of your browsing history and general use of the application, so Google (and I) feel it’s important that the permissions are spelled out.

Icons

We’re only going to use two icons in our application, a 16x16 icon that will appear in our right-click menu and a 128x128 icon that will be displayed on the extension.

Small icon
Large icon

Background

We specify a script file that will be loaded as a background process, which I'll cover in a little bit.

Creating the context menus

A context menu is created by using the Chrome API.

chrome.contextMenus.create({ "id": "localhost",
"title": "Localhost",
"onclick": genericOnClick });

Context menus are added in the order in which they're called in your javascript. The id identifies which contextMenu has been clicked. It's important to set this if you need to have custom behavior for a particular menu as Chrome will set a random id if one is not specified. title is simply the words that will appear in your contextMenu. The onclick parameter is the function that will be called when the menu is accessed, which you will note is not in quotes since it's referencing the function itself.

You can also add radio buttons or checkboxes to the menu. In our case we're going to specify whether the existing tab's url should be changed by setting a variable, but first let's put in a separator:

chrome.contextMenus.create({ "type": "separator" });

And finally the checkbox:

chrome.contextMenus.create({ "title": "Load in separate Tab",
"id": "loadInSeparateTab",
"type": "checkbox",
"checked": true,
"onclick": checkboxOnClick });

The event functions go into the .js file as well. Our example code for setting the checkbox event is as follows:

var loadInSeparateTab = true;
function checkboxOnClick(info, tab) {
loadInSeparateTab = info.checked
}

You'll notice that we will use the built-in checked property for the checkbox and have access to both the contextMenu and the currently displayed tab. If this were a production app you would want to create properly encapsulated javascript objects, however in our simplified case we'll just set a global variable.

The onclick handler for the context menus takes the same arguments as the checkbox function. We'll use the id that we assigned to map into a javascript object that contains our domain information.

var menus = { 'staging': 'https://staging.yourapp.com',
'localhost': 'http://localhost:3000',
'production': 'https://production.yourapp.com' }
function genericOnClick(info, tab) {
var url = '';
url = tab.url.split('/')
url.splice(0, 3);
url = menus[info.menuItemId] + "/" + url.join('/');
if (loadInSeparateTab) {
chrome.tabs.create({ url: url, index: tab.index+1 });
} else {
chrome.tabs.update(tab.id, { url: url })
}
}

The loadInSeparateTab variable is used to determine whether we should open a new tab or use the existing tab. The domain part of the url is pulled from the menus object by the tab id.

Loading the extension

To deploy our code choose 'Load unpacked extension...' on the extensions page and select the directory that contains the extension code. If everything is correct when you right-click in your browser you should see 'Wegotools' and below that choices for Staging, Localhost, and Production as well as the "Load in separate tab" checkbox. Regardless of success or failure you'll see an entry for your extension as long as your manifest file is correct.

'The loaded extension'

If you need want to inspect your running extension click on 'background page' which will open up a javascript console that displays any errors or console messages just like the standard Chrome developer tools.

Next Steps

The next part of this series will cover the creation of a pageAction which will show an icon in the location bar when we're on one of our domains.

'Page Action'

The final installment will cover deployment of our extension.